10 minutes or less
Tools Needed:
Procedure:
From what I've seen, all PCM codes are 3 letters followed by a number, such as LFQ0, LDC8, JFA7, WCC4, JFR5, etc.The code is in three places within your focus that I know of:
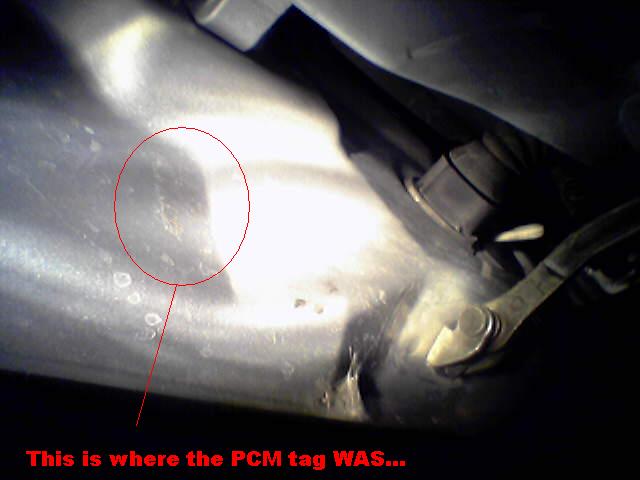
1) Passenger side door jamb, close to the firewall, near the top hinge. This one is usually worn off and unreadable. If it's legible, it will have the PCM code and a barcode, and nothing else on it. It's about 3/4" x 1.5" or so.

My sticker had already worn all the way off.
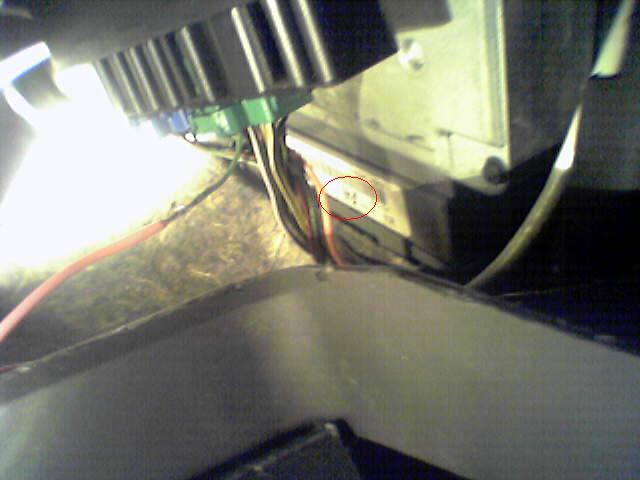
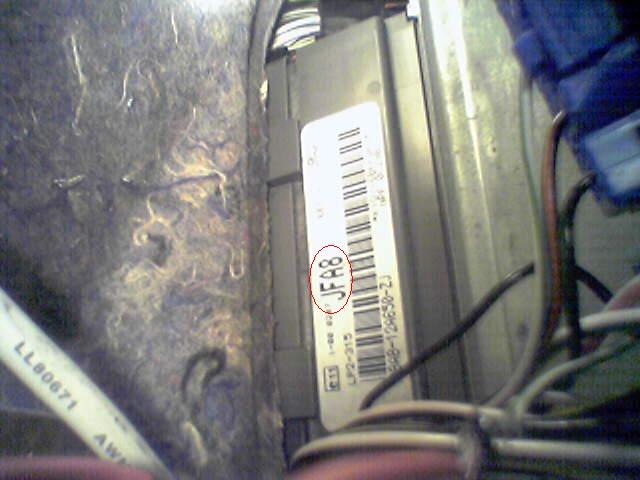
2) On the connector plug of the PCM, visible with a flashlight and some eye strain. It will appear to be right below the metal box. There's lots of information, but you're only looking for the PCM code, which again, should be 3 letters and a number. Ignore the rest of the stuff on the sticker.


Here you can see my PCM code. It's in bold font and easy to see it's JFA8.
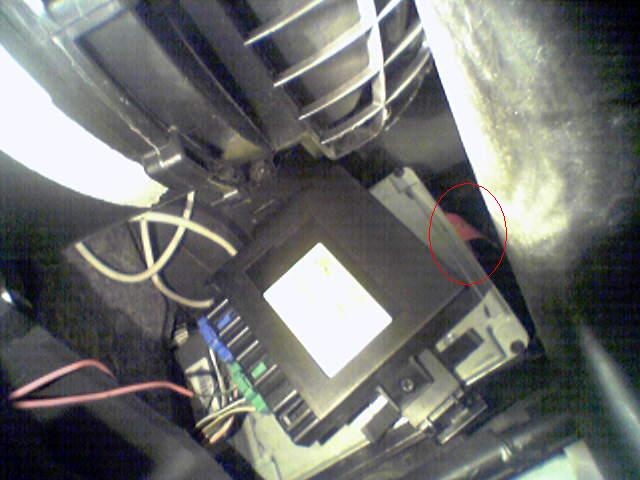
3) On the test port cover at the top of the PCM. It's a black plastic cover that you'd need to remove to install the chip. You can pry it off with a stubby flathead screwdriver, but be careful not to damage anything. I usually check this as a last resort if the other 2 locations are not visible.

Here's my whole PCM. Yes, my CLM (black box) is mounted crooked. The dust cover is located on the top. Since I have a chip installed, all you see is the red tag hangin' out. If you pry the dust cover off gently with a flathead screwdriver, there's another sticker on it similar to the one pictured above.
No comments:
Post a Comment